(Troubleshooting) NSX-T Manager Disk is Full
If the NSX-T manager appliance disk gets full, the manager may not function properly. The appliance can be sluggish or unresponsive. Logins can fail even though you KNOW the password you are entering is correct. We will walk through how to recover your NSX-T manager appliance by freeing up disk space when you cannot login due to the disk being full.
When trying to login with a KNOWN password that works but cannot.
admin@10.0.60.46's password:
Access denied
admin@10.0.60.46's password:
Access denied
admin@10.0.60.46's password:
Access denied
admin@10.0.60.46's password:
If you are able to login, do you see a partition is full?
Via ‘root’ login:
root@nsxt-2:~# df -h
Filesystem                   Size  Used Avail Use% Mounted on
udev                          12G     0   12G   0% /dev
tmpfs                        2.4G  6.8M  2.4G   1% /run
/dev/sda2                     11G  3.8G  6.0G  39% /
tmpfs                         12G     0   12G   0% /dev/shm
tmpfs                        5.0M     0  5.0M   0% /run/lock
tmpfs                         12G     0   12G   0% /sys/fs/cgroup
/dev/sda3                     11G   27M  9.7G   1% /os_bak
/dev/sda1                    945M  8.3M  872M   1% /boot
/dev/mapper/nsx-tmp          3.7G   17M  3.5G   1% /tmp
/dev/mapper/nsx-config        29G  119M   28G   1% /config
/dev/mapper/nsx-image         43G   53M   40G   1% /image
/dev/mapper/nsx-var+dump     9.3G   22M  8.8G   1% /var/dump
/dev/mapper/nsx-repository    31G  4.4G   25G  16% /repository
/dev/mapper/nsx-config__bak   29G   44M   28G   1% /config_bak
/dev/mapper/nsx-var+log       27G   27G     0 100% /var/log
Via ‘admin’ login:
admin@nsxt-2:~# get filesystem-stats
Filesystem                   Size  Used Avail Use% Mounted on
udev                          12G     0   12G   0% /dev
tmpfs                        2.4G  6.8M  2.4G   1% /run
/dev/sda2                     11G  3.8G  6.0G  39% /
tmpfs                         12G     0   12G   0% /dev/shm
tmpfs                        5.0M     0  5.0M   0% /run/lock
tmpfs                         12G     0   12G   0% /sys/fs/cgroup
/dev/sda3                     11G   27M  9.7G   1% /os_bak
/dev/sda1                    945M  8.3M  872M   1% /boot
/dev/mapper/nsx-tmp          3.7G   17M  3.5G   1% /tmp
/dev/mapper/nsx-config        29G  119M   28G   1% /config
/dev/mapper/nsx-image         43G   53M   40G   1% /image
/dev/mapper/nsx-var+dump     9.3G   22M  8.8G   1% /var/dump
/dev/mapper/nsx-repository    31G  4.4G   25G  16% /repository
/dev/mapper/nsx-config__bak   29G   44M   28G   1% /config_bak
/dev/mapper/nsx-var+log       27G   27G     0 100% /var/log
If you are able to login to the affected appliance you will want to simply find the full partition and manually delete unwanted files/folders to free up space. I.e. log files.
However, if you are unable to login and manage the appliance you will need to mount a rescue disk so you can manually free up space necessary to recover the appliance. We will walk through the steps necessary to recover the appliance.
- Power down the affected NSX-T manager. (If all are affected, perform these steps on all three managers, one at a time)
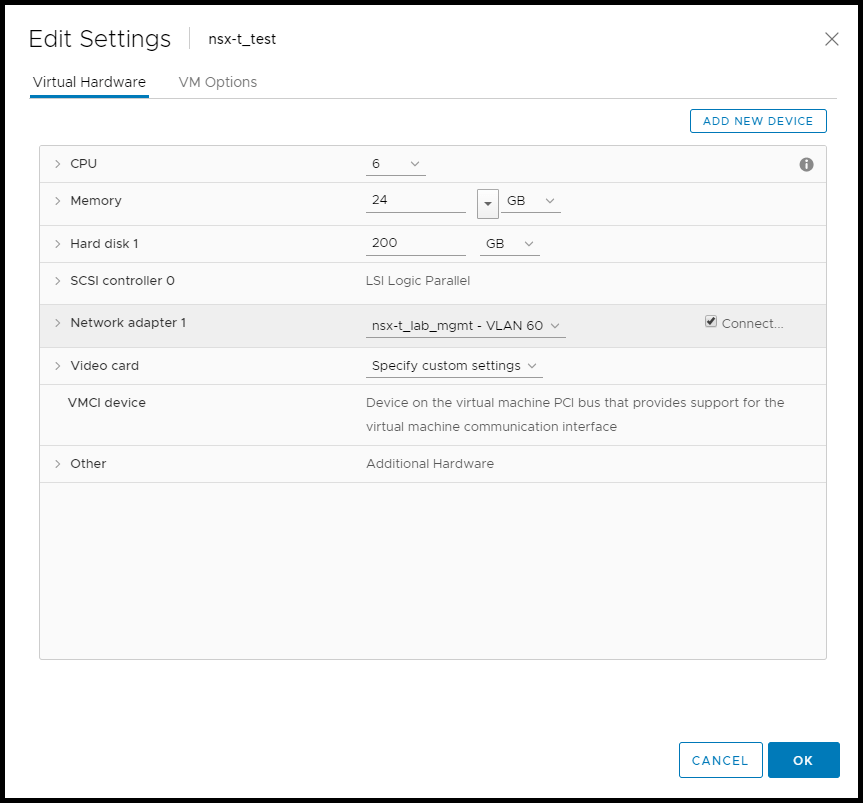
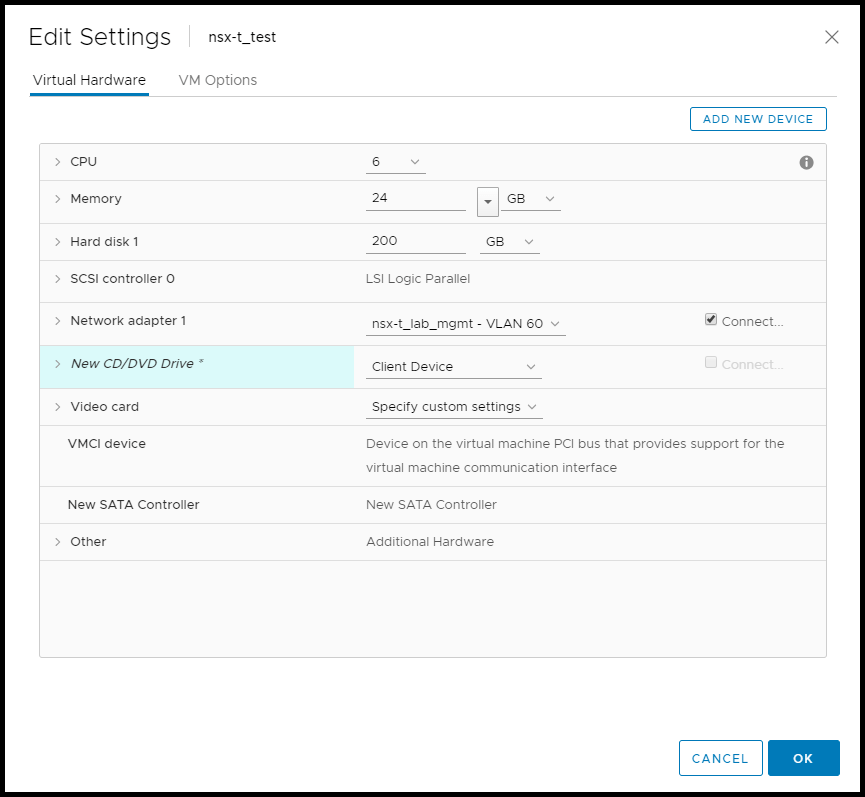
- Add a CD drive and attach an Ubuntu 16.04 ISO
Note: The Ubuntu 16.04 ISO can be downloaded here
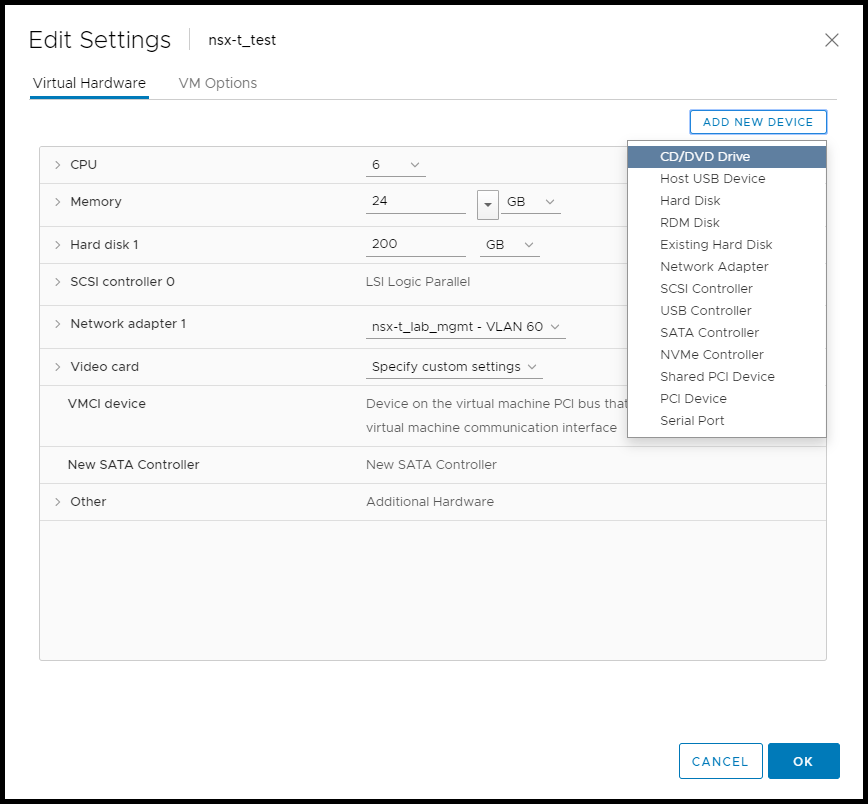
2a. Navigate to Hosts & Clusters > Right click on NSX-T manager > Edit Settings > ADD NEW DEVICES > CD/DVD DRIVE
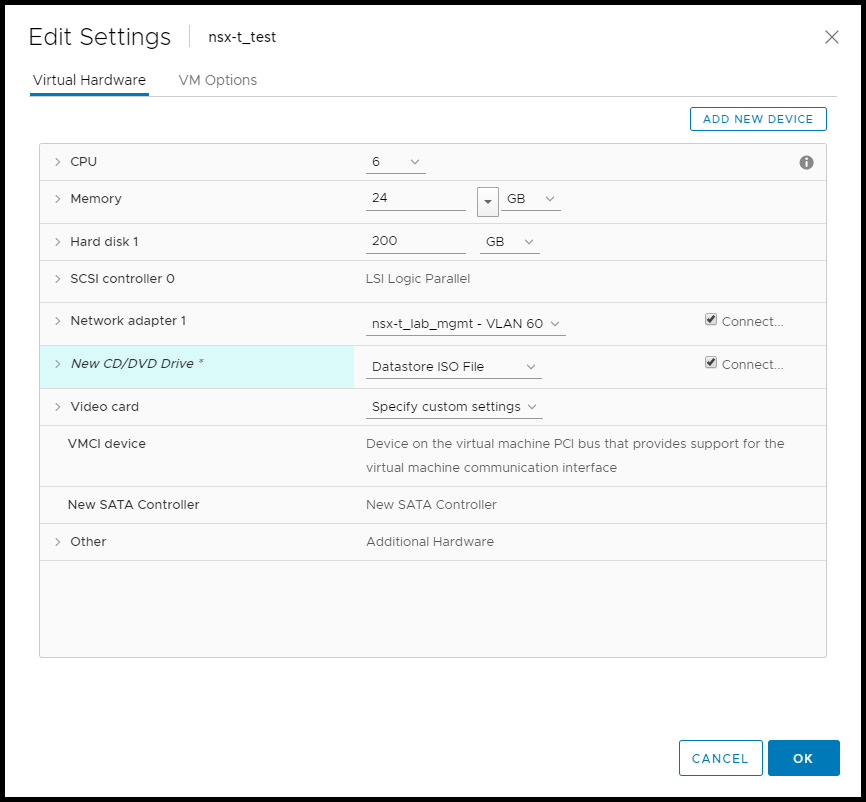
2b. Select ‘Datastore ISO File‘ on the drop down of the newly created CD-ROM drive
2c. Attach the previously downloaded Ubunutu 16.04 ISO image and click OK
2d. Finally, click ‘Connect at power on‘ next to the newly created CD-ROM drive

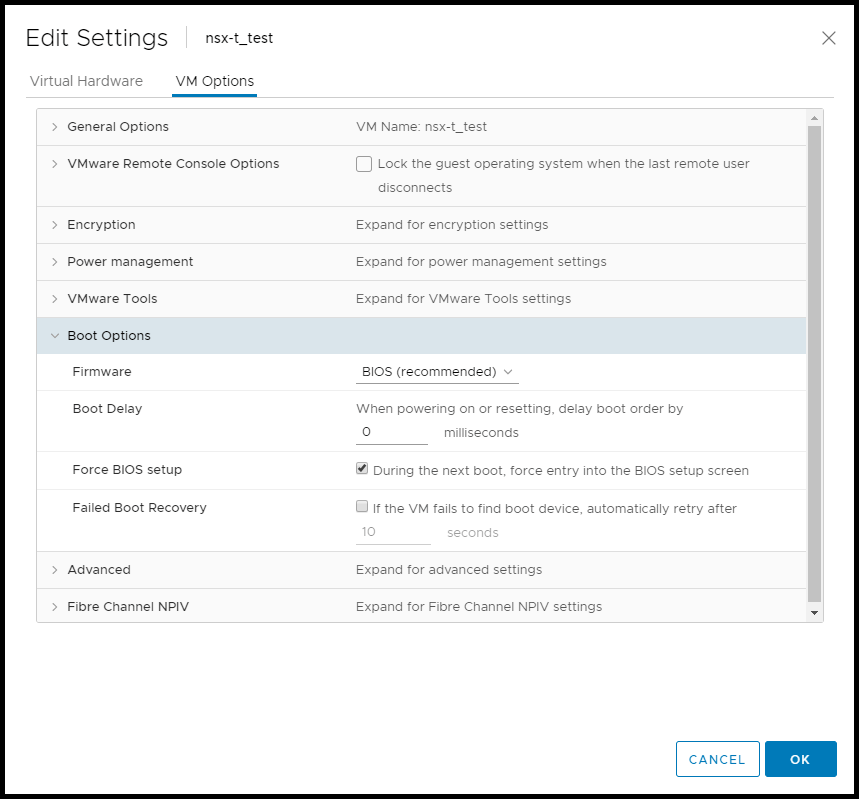
3. Next, click on the ‘VM Options‘ tab at the top of the Edit Settings pop-out
4. Expand ‘Boot Options‘ > Click the check box to ‘Force BIOS setup‘ and then click, OK
5. Now we need to power on the NSX-T manager and open a console screen
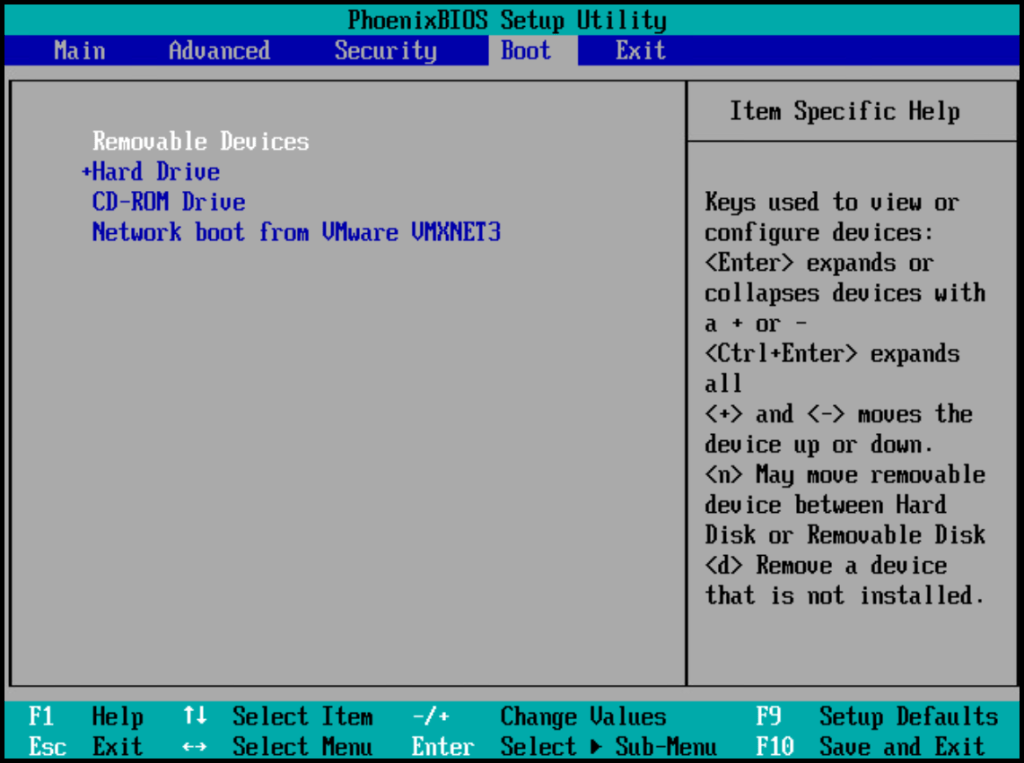
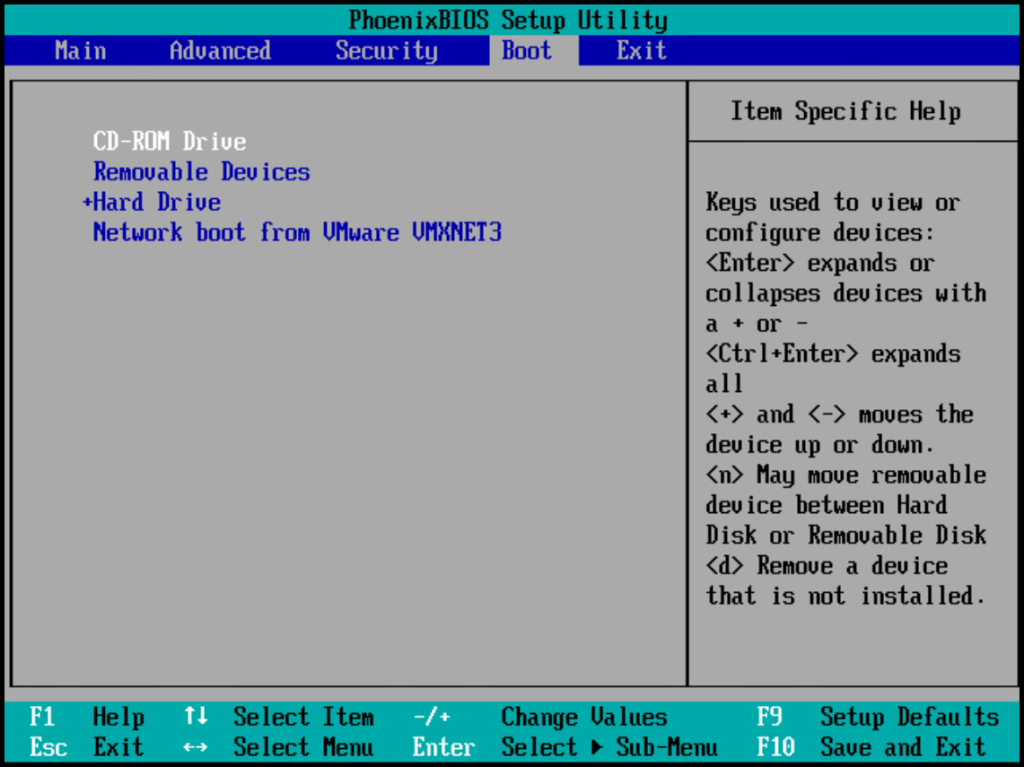
6. When the BIOS screen appears, select the ‘Boot‘ tab on the right and change the boot order by highlighting the ‘CD-ROM Drive‘ and hitting the <+> sign until the CD-ROM Drive is at the top of the list
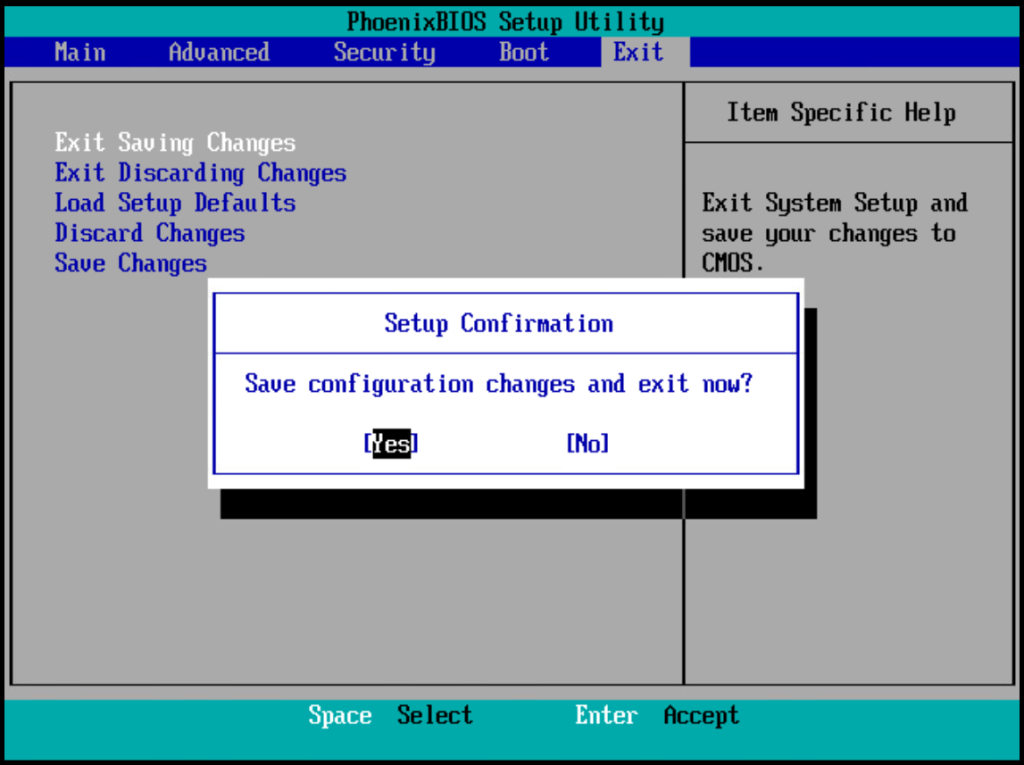
7. When done, hit <F10> or navigate to Exit > Exit Saving Changes.
The VM will boot automatically into the Ubuntu ISO
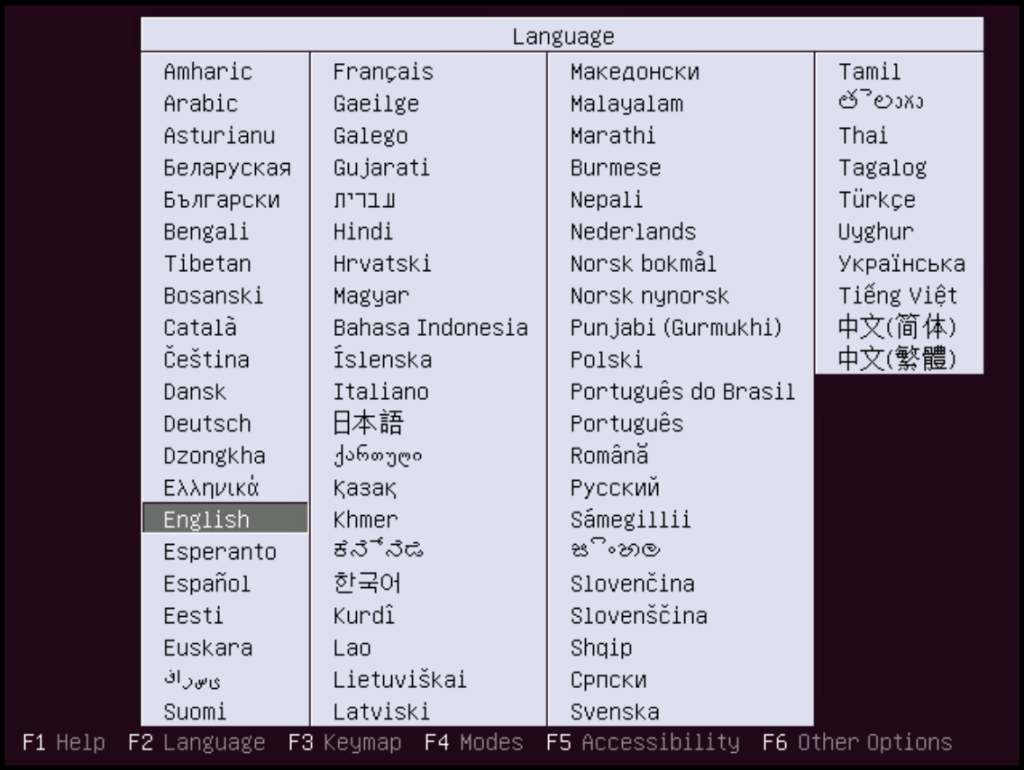
7. From within the console select your preferred language and hit <ENTER>
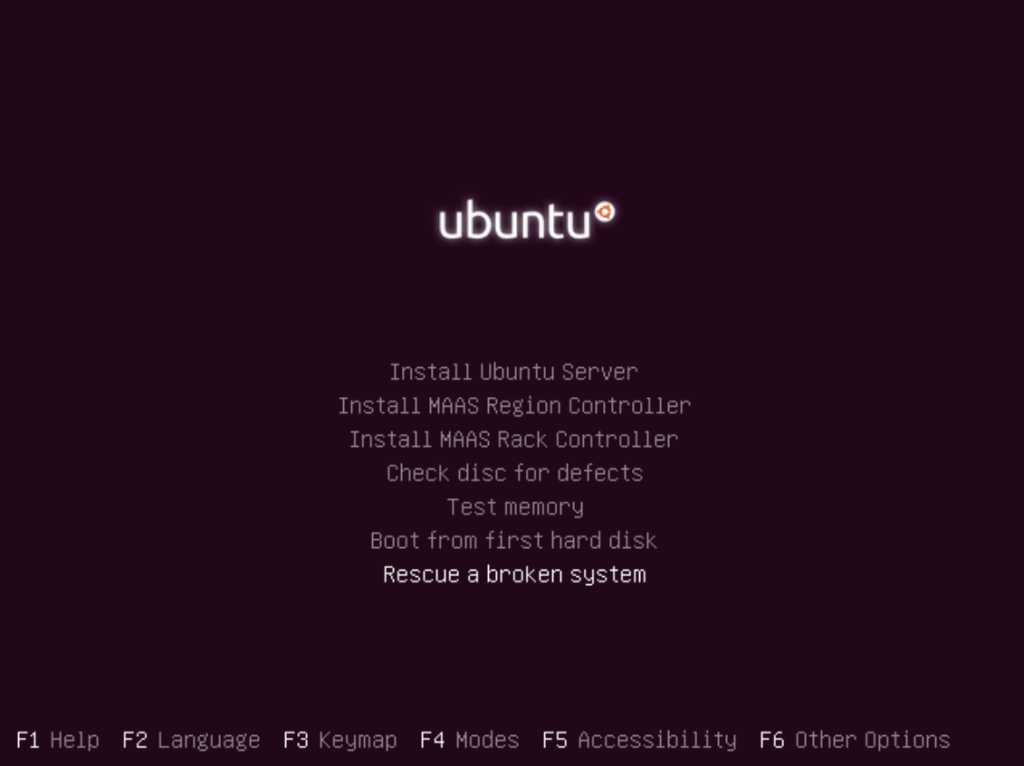
8. Select ‘Rescue a broken system‘ and hit <ENTER>
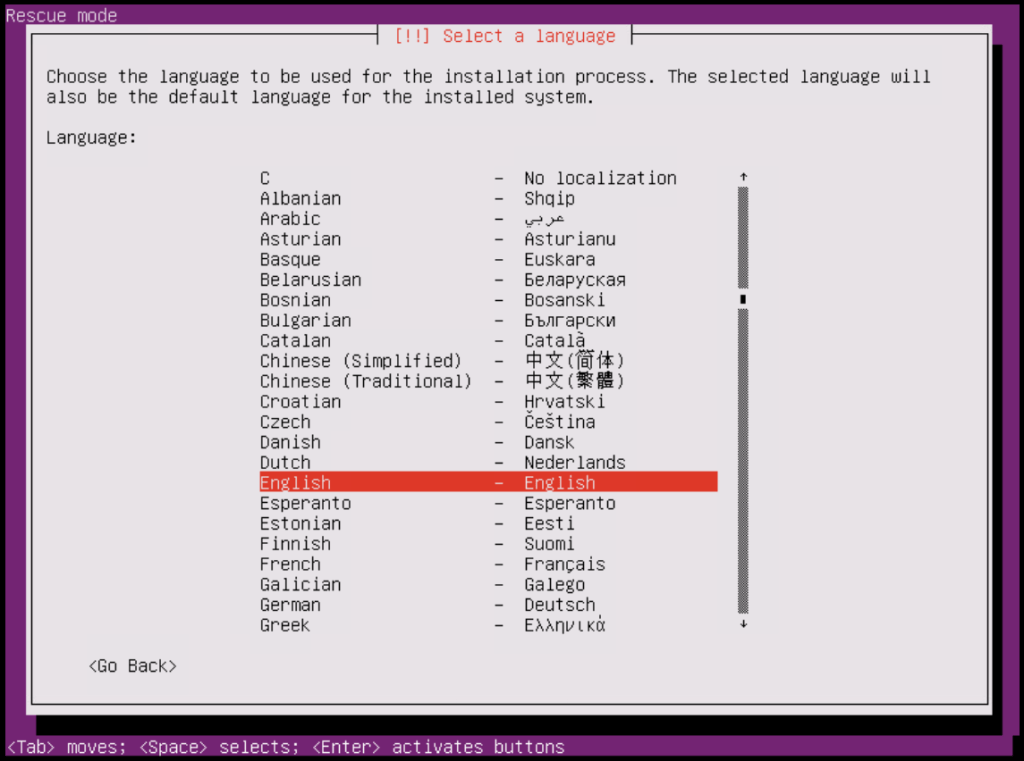
9. Select your preferred language and hit <ENTER> (again)
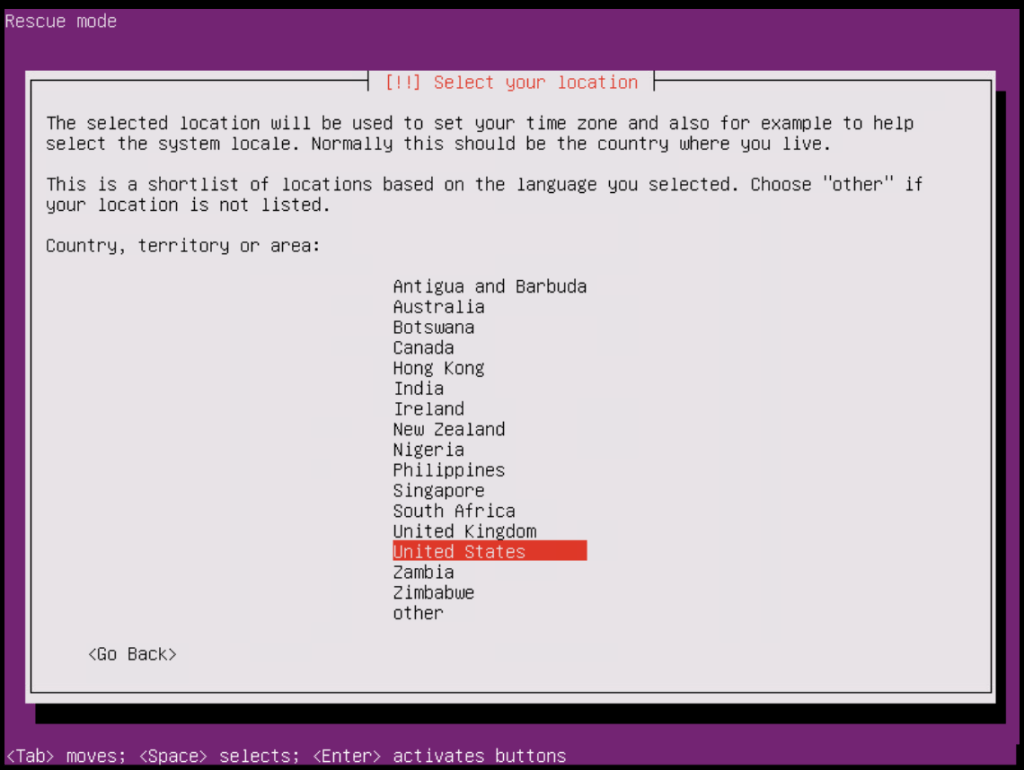
10. Select your location and hit <ENTER>
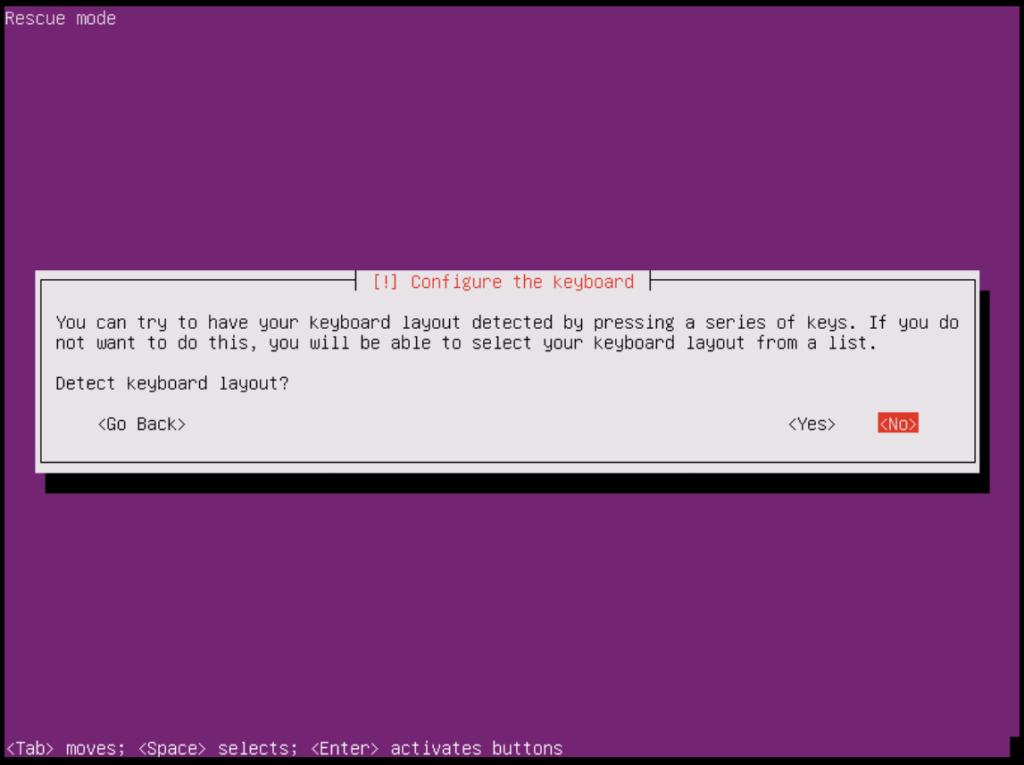
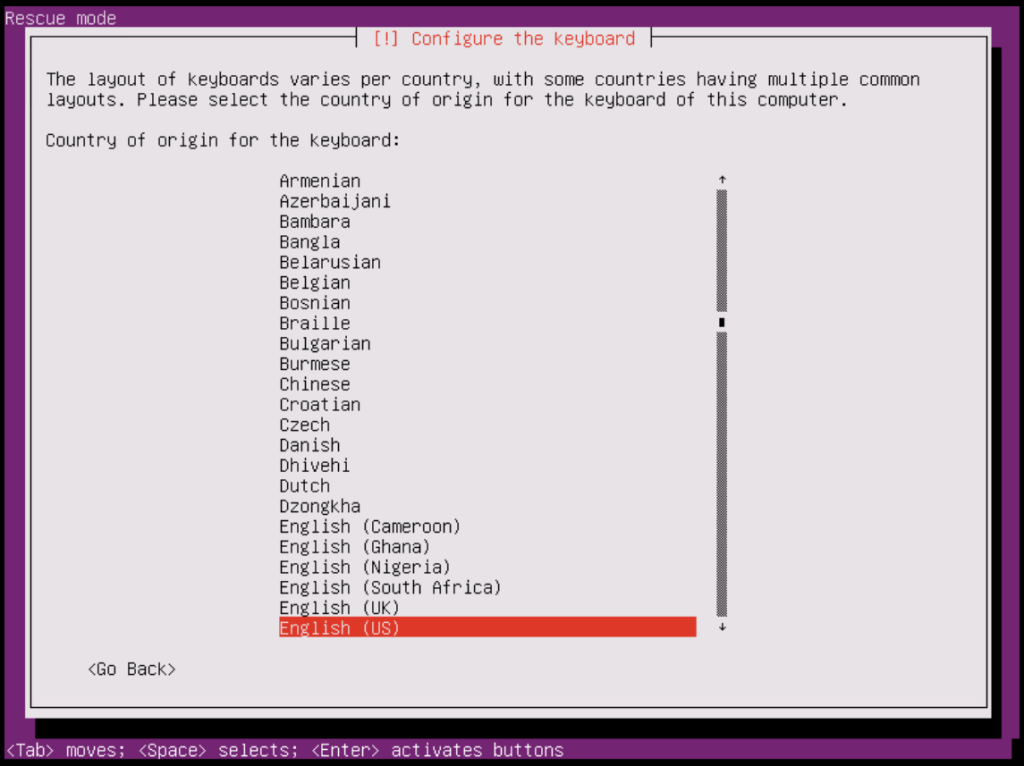
11. Select your preferred keyboard through the next three screens

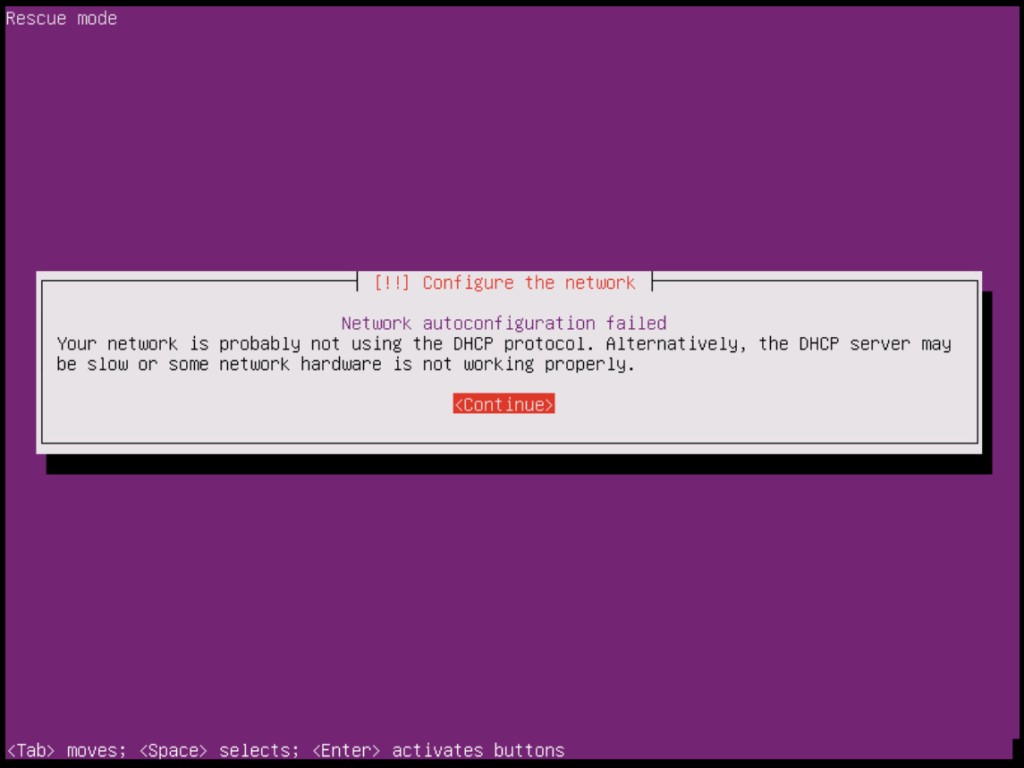
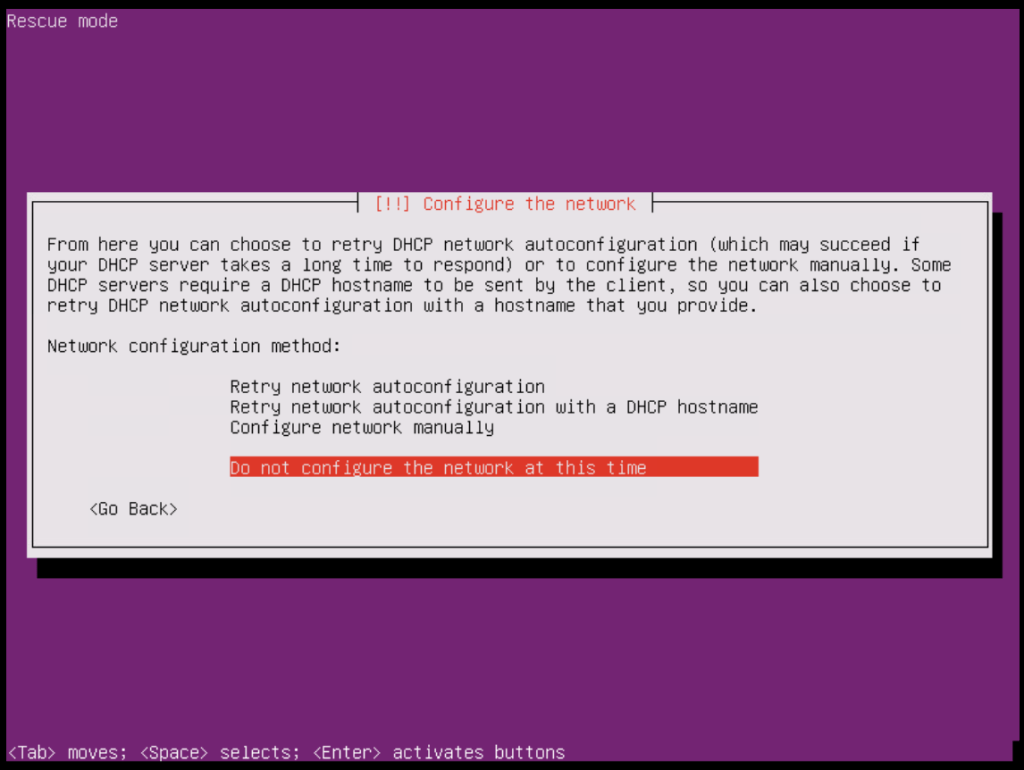
12. Networking options are not needed as we are only going to be modifying the local disk of the NSX-T manager appliance. Select ‘Do not configure the network at this time‘ and hit <ENTER>
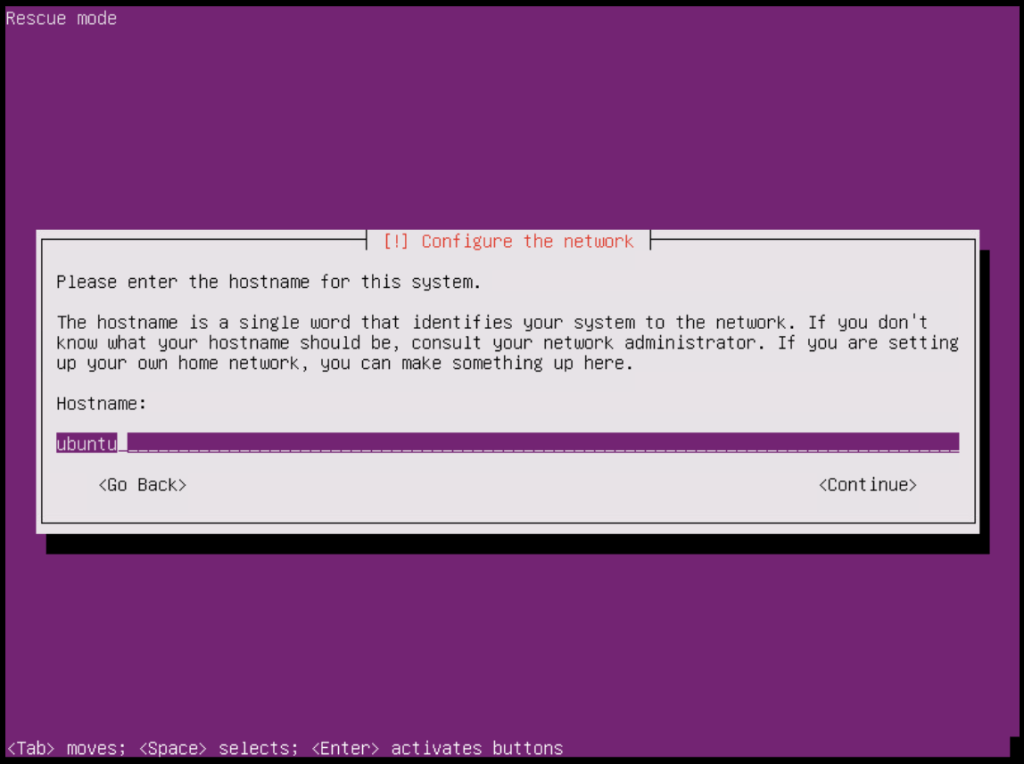
13. Configuration of the hostname for the manager is not needing to be changed so just use the default and hit <ENTER>
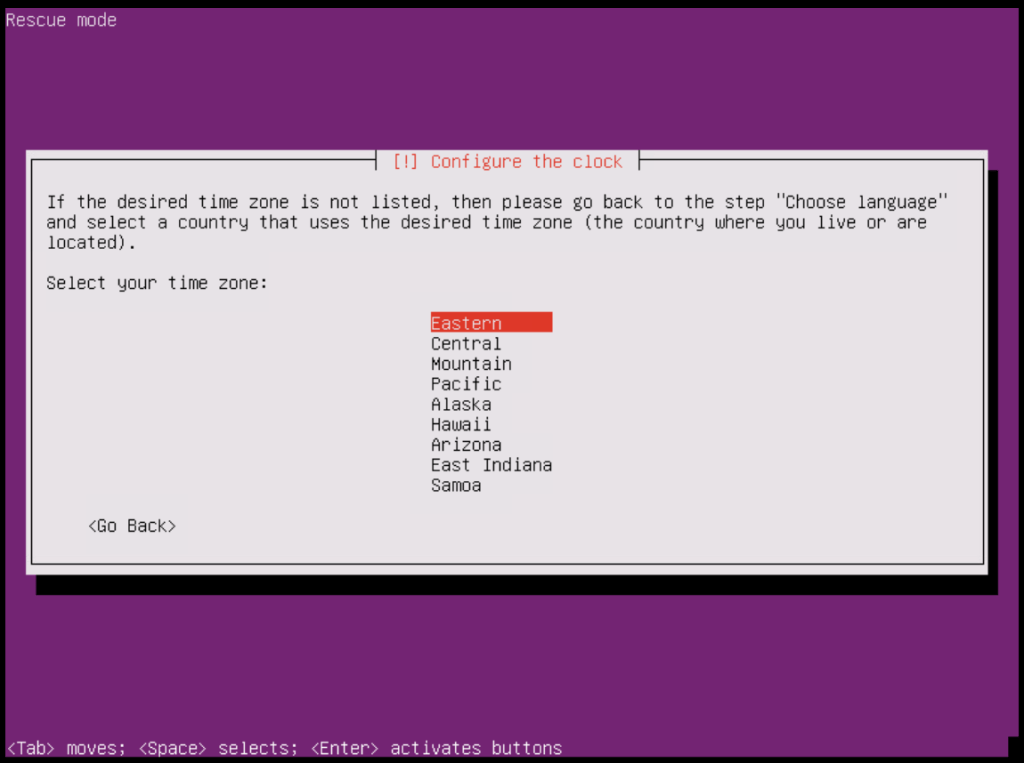
14. Configuration of the timezone does not need to be changed. Just accept the default and hit <ENTER>
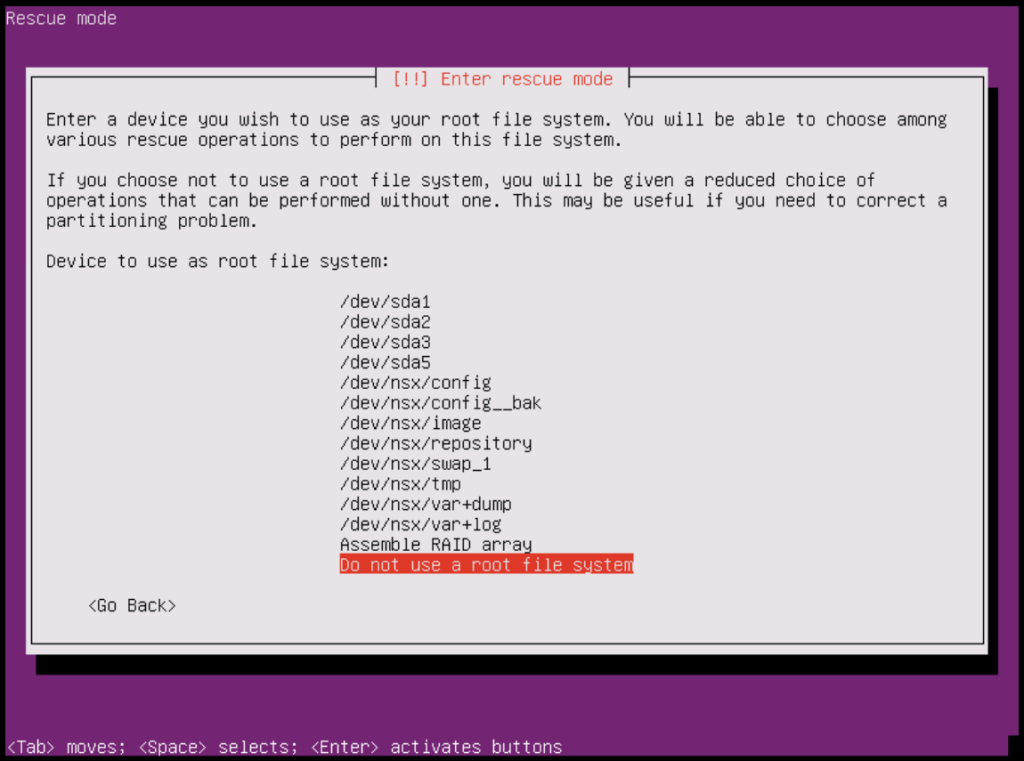
15. Next, you will have an option to choose which partition to use for the ‘root’ filesystem. We do not need to use a root file system. Select ‘Do not use a root file system‘ and hit <ENTER>
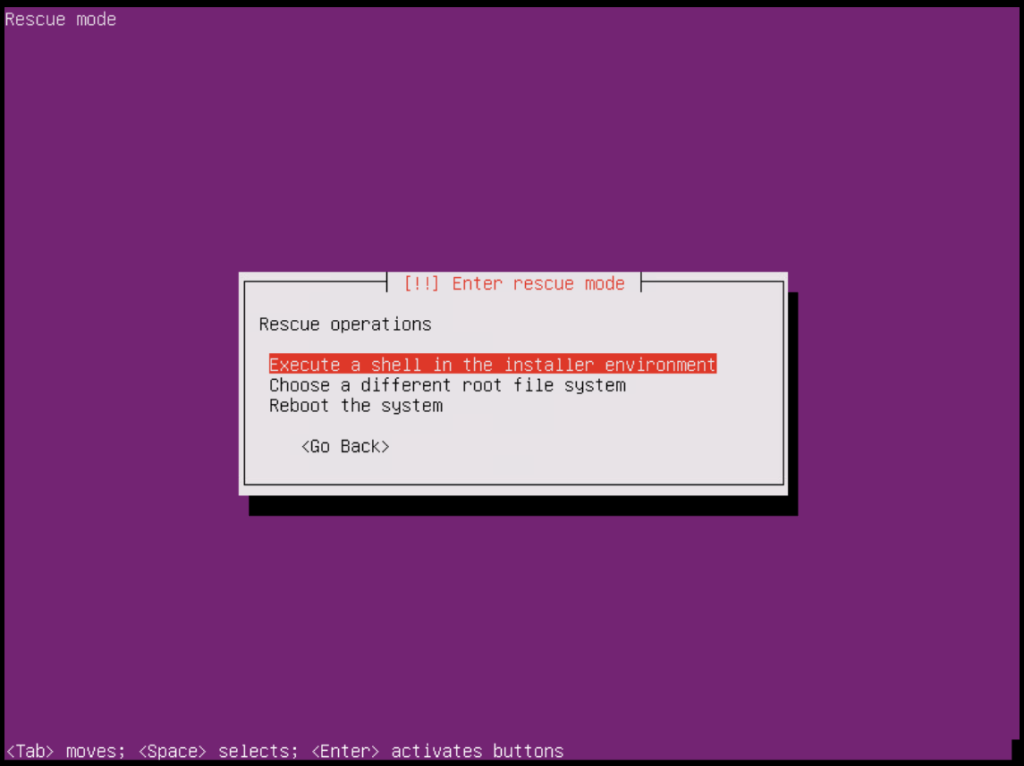
16. Next, to get into the shell needed to make the changes select ‘Execute a shell in the install environment‘ and hit <ENTER>
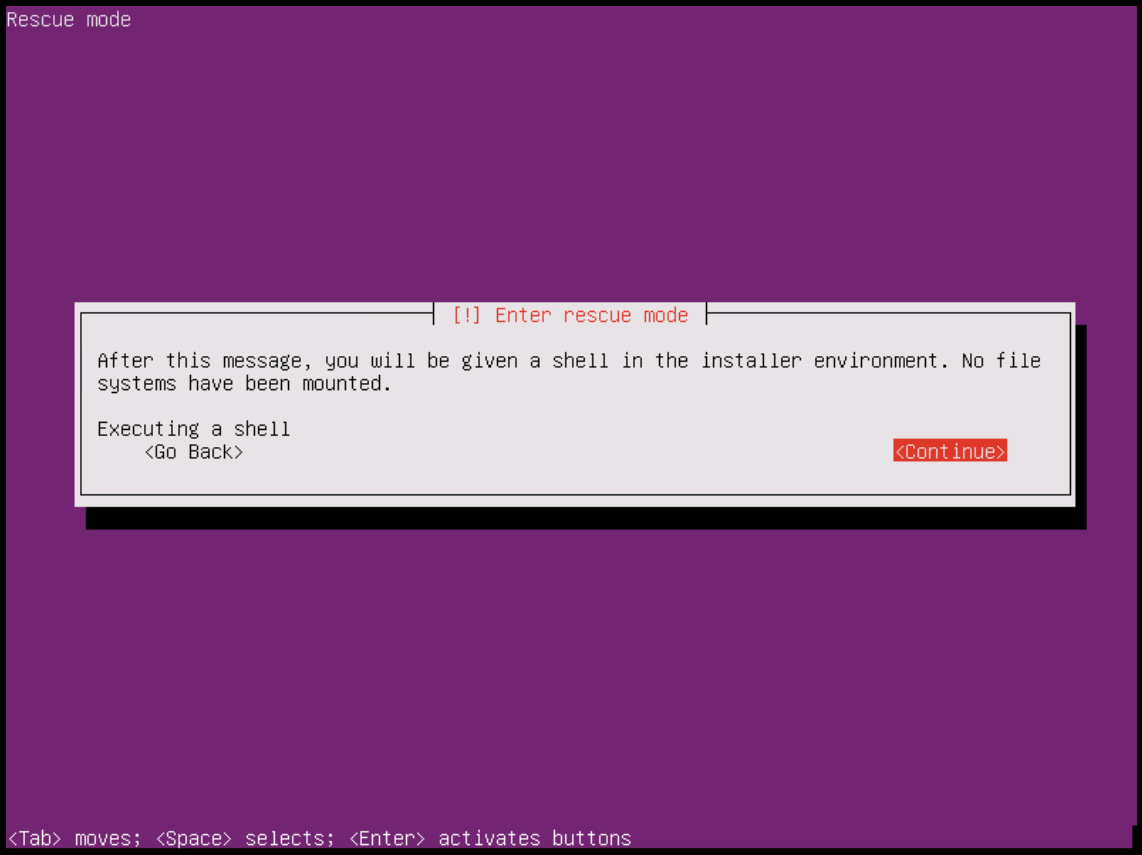
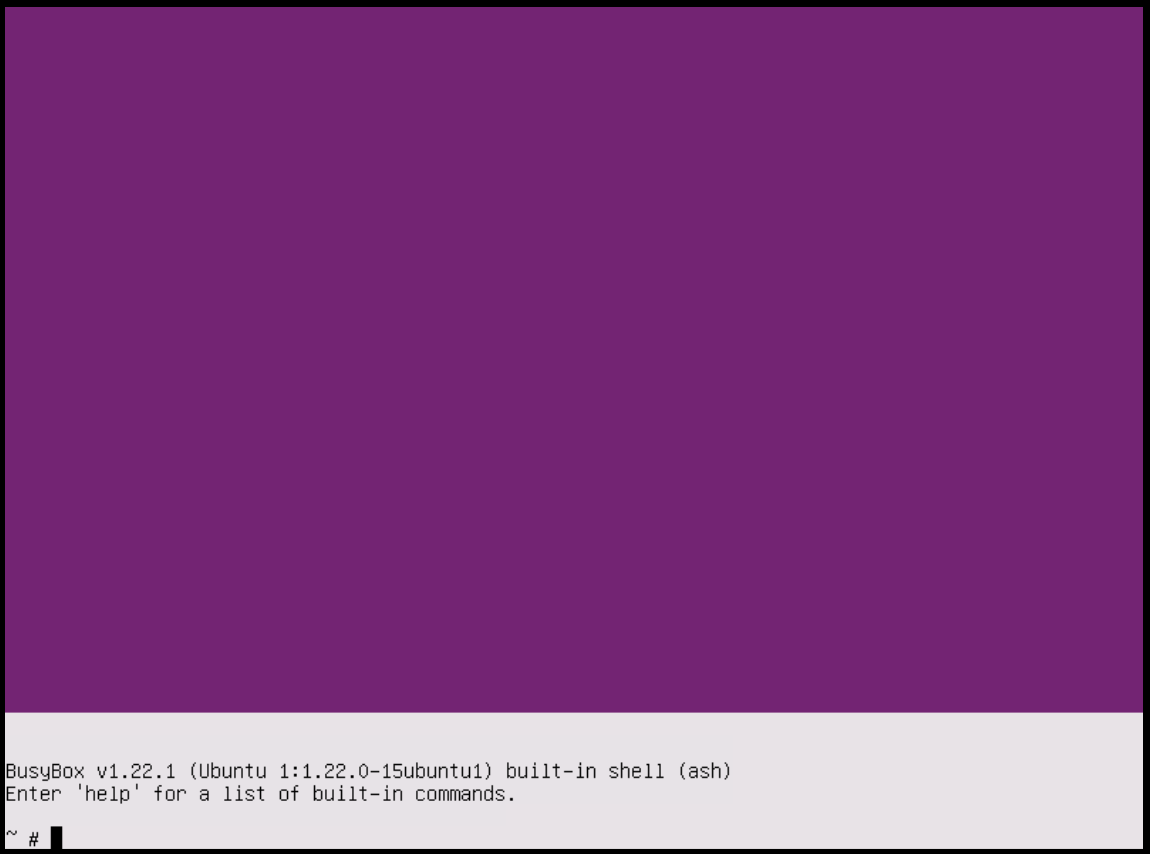
17. Now that we have a shell, we can begin to cleanup the NSX-T manager file system and reduce the size. First we need to mount the partition we believe is full. In most cases it’s going to be the /var/log or the /dev/mapper/nsx-var+log partition
First we need to make the directory where we will mount the nsx-var+log partition.
~ # mkdir /mnt/recovery1Next, we will mount the nsx-var+log partition to our newly created directory
~ # mount /dev/mapper/nsx-var+log /mnt/recovery1/Now that the partition has been successfully mounted to our directory, we can confirm this partition is full by running the disk free command
~ # df -h /mnt/recovery1/
Filesystem                      Size          Used   Available    Use%    Mounted on
/dev/mapper/nsx-var+log
                                26.8G         26.8G          0    100%    /mnt/recovery1
18. Now that we have confirmed the /nsx-var+log partition (/var/log) is the culprit we need to delete files to free up space. The most effective way of achieving this is to write from /dev/null over the files. Syslog is typically the largest log file and should free up enough space to recover the system.
~ # > /mnt/recovery1/syslogAfter removing all the syslog files we can check to see the space occupied on the partition mounted and we can see we successfully freed up space.
~ # df -h /mnt/recovery1/
Filesystem                      Size          Used   Available    Use%    Mounted on
/dev/mapper/nsx-var+log
                                26.8G         1.5G       24.0G     6%    /mnt/recovery1
Now that the remediation has been completed we can power off the NSX-T manager appliance and restore the VM to it’s previous state.
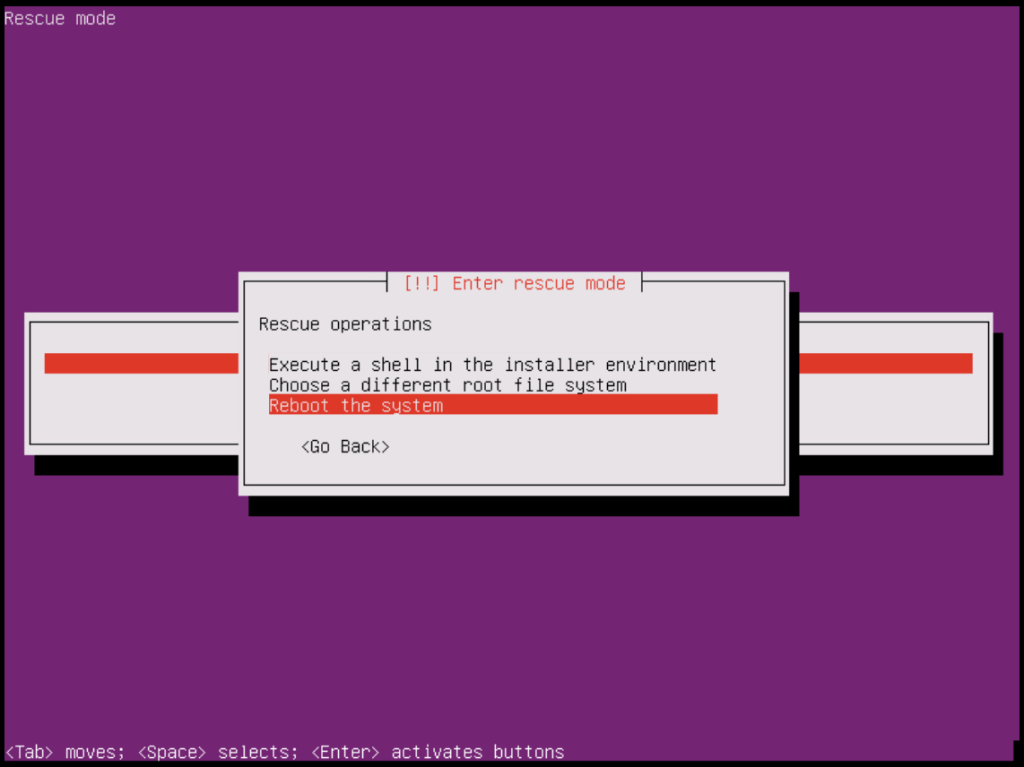
19. We begin by typing exit to reboot the machine. While the machine is rebooting we can go and power the virtual machine off and remove the Ubuntu ISO and delete the CD-ROM drive


As a final cleanup step, we need to boot back into the BIOS and change the boot order back to what it was prior to beginning the remediation steps
20. Next, click on the ‘VM Options‘ tab at the top of the Edit Settings pop-out, Expand ‘Boot Options‘ > Click the check box to ‘Force BIOS setup‘ and then click, OK

Now boot the system and open a console
21. When the BIOS screen appears, select the ‘Boot‘ tab on the right and change the boot order by highlighting the ‘CD-ROM Drive‘ and hitting the <-> sign until the CD-ROM Drive is at the middle of the list below the ‘Hard Drive’


22. When done, hit <F10> or navigate to Exit > Exit Saving Changes.
The NSX-T manager appliance will now boot normally by trying to boot from the hard disk first instead of the CD-ROM drive. If you have other NSX-T manager appliances affected the same, you will need to perform the same steps again on each remaining manager.
